


What is Mocha?
Mocha is a feature-rich JavaScript test framework running on Node.js and in the browser, making asynchronous testing simple and fun.
Synchronous Test Example
it('two plus two is four', () => {
  expect(2 + 2).to.equals(4);
});
Asyncronous Test Code
it("adds 2 numbers", (done) => {
 // perform asynchronous actions
 // write tests
  done(); // call the done function after test.
});
What is Chai?
Chai is a BDD (Behaviour-Driven Development) / TDD (Test-Driven Development) assertion library for nodejs and the browser that can be delightfully paired with any javascript testing framework.
Assertion Types
Chai has several interfaces from which developers can choose from. They are:
-
chai.should(); foo.should.be.a('string'); foo.should.equal('bar'); foo.should.have.lengthOf(3); tea.should.have.property('flavors').with.lengthOf(3); -
var expect = chai.expect; expect(foo).to.be.a('string'); expect(foo).to.equal('bar'); expect(foo).to.have.lengthOf(3); expect(tea).to.have.property('flavors').with.lengthOf(3); -
var assert = chai.assert;
assert.typeOf(foo, 'string');
assert.equal(foo, 'bar');
assert.lengthOf(foo, 3);
assert.property(tea, 'flavors');
assert.lengthOf(tea.flavors, 3);
Server Test
Now, I would be taking us through the process of setting up a basic Node API and writing tests for it.
First thing is to create our project folder and initialize it with npm to generate the package.json file.
npm init -y
Install dependencies by running the commands below on your terminal
npm i express --save
npm i mocha chai chai-http --save-dev
Setup Server
Create an app.js file in the root of your project and add code below to create a server with express and also endpoints that we would be testing.
const express = require("express");

const app = express();

app.use(express.json());

app.get("/", (req, res) => {
  res.json({ status: "success", message: "Welcome To Testing API" });
});

app.post("/add", (req, res) => {
  const { num1, num2 } = req.body;
  const add = (num1, num2) => {
    return num1 + num2;
  };
  res.json({
    status: "success",
    result: "Welcome To Testing API",
    result: add(num1, num2)
  });
});

const PORT = process.env.PORT || 3000;

app.listen(PORT, () => console.log(`App listening on port ${PORT}`));

module.exports = app;
Setup Scripts
Add test script to package.json file.
"scripts": {
    "test": "mocha"
  }
Write Tests
Create a test directory in your project, and then create an app.test.js file inside the test directory created.
Note: The reason we're adding our tests to the
testdirectory is that mocha searches for a test directory in your project by default, although this can be configured to suit your style. Find more here
Then add code below
const app = require("../app");
const chai = require("chai");
const chaiHttp = require("chai-http");

const { expect } = chai;
chai.use(chaiHttp);
describe("Server!", () => {
  it("welcomes user to the api", done => {
    chai
      .request(app)
      .get("/")
      .end((err, res) => {
        expect(res).to.have.status(200);
        expect(res.body.status).to.equals("success");
        expect(res.body.message).to.equals("Welcome To Testing API");
        done();
      });
  });

  it("adds 2 numbers", done => {
    chai
      .request(app)
      .post("/add")
      .send({ num1: 5, num2: 5 })
      .end((err, res) => {
        expect(res).to.have.status(200);
        expect(res.body.status).to.equals("success");
        expect(res.body.result).to.equals(10);
        done();
      });
  });
});
At this point, your folder structure should look like the image below

To run the test, run the command below on your terminal.
npm test
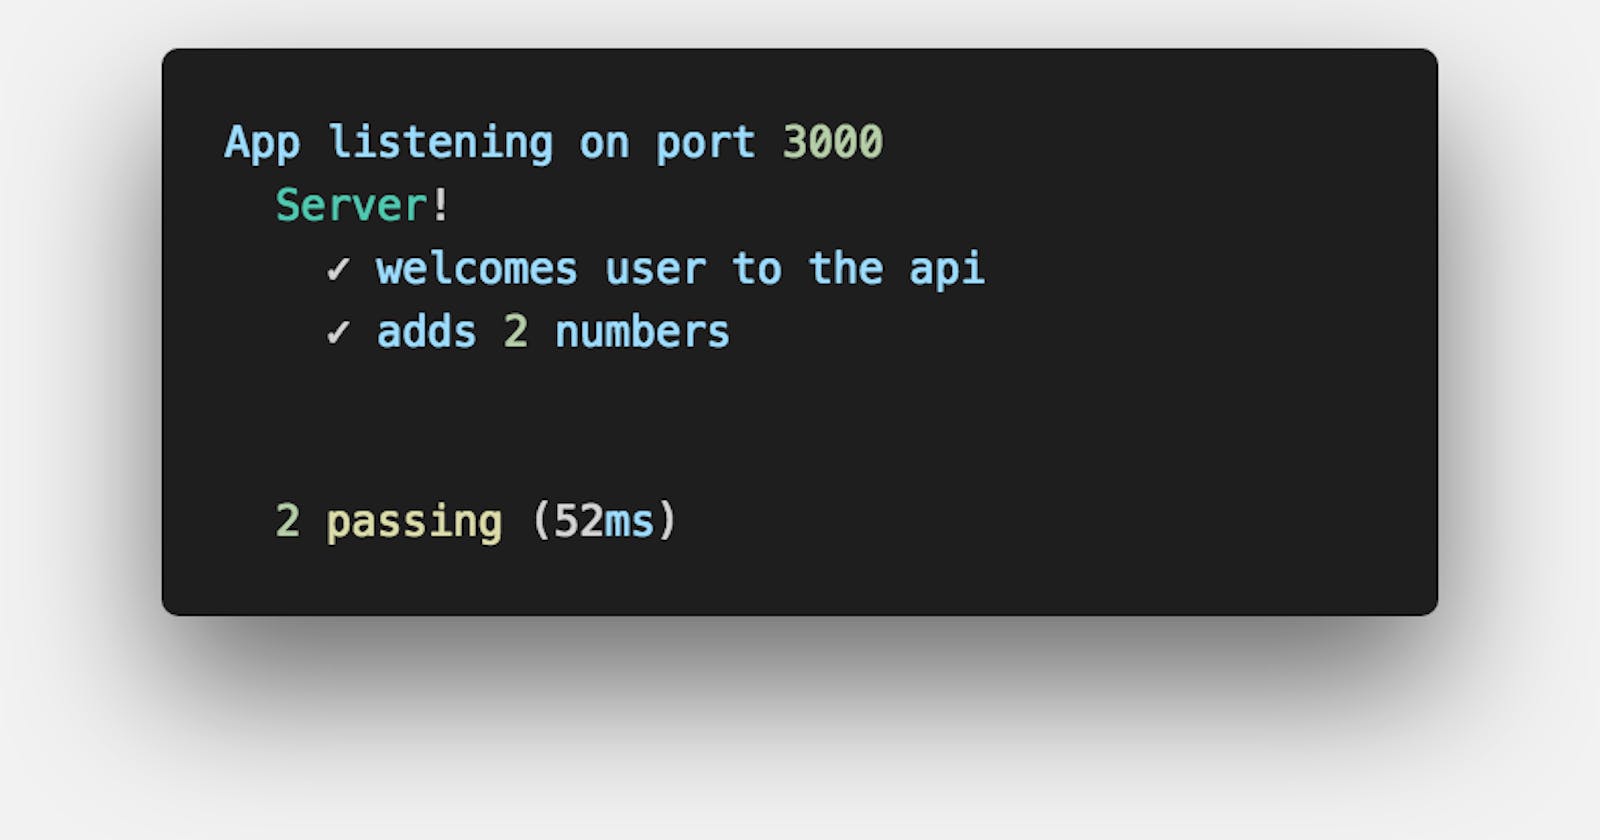
Once the test is run, if the test passes, you should get a successful response on your terminal like the example shown below

...and if the test fails, an error response on your terminal like the example shown below

Find the code used in this project on Github.
Find more information on Mocha here.
Find more information on Chai here.
Conclusion
In this article, we have been able to look at setting up testing with Mocha and Chai and also writing tests for our Node API. I would be improving on this article and project to integrate a Continuous Integration tool called Travis-CI.
If you have any questions or feedback about this article, feel free to leave a comment. Thanks for reading.